
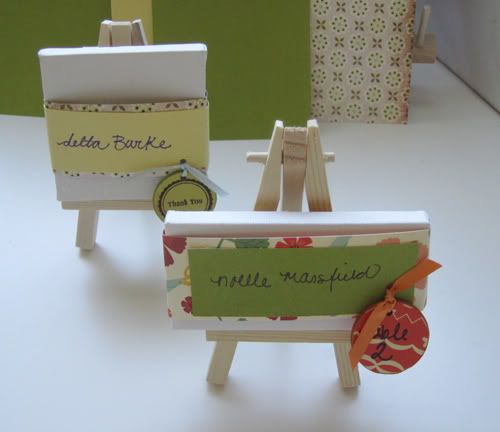
This is a DIY project I've had in my notebook for awhile now: mini canvas and easel place cards that double as the wedding favor gift! (It's a bit long so I will keep it up over the weekend.)
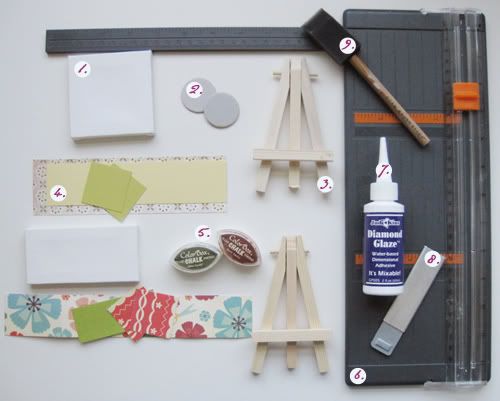
Materials
1. mini canvas, find them here 2. chipboard pieces, optional 3. mini easel, find them here 4. scrapbook paper prints and matching paper of your choice 5. dye ink for the chipboard 6. paper cutter 7. diamond glaze 8. xacto blade 9. small foam brush
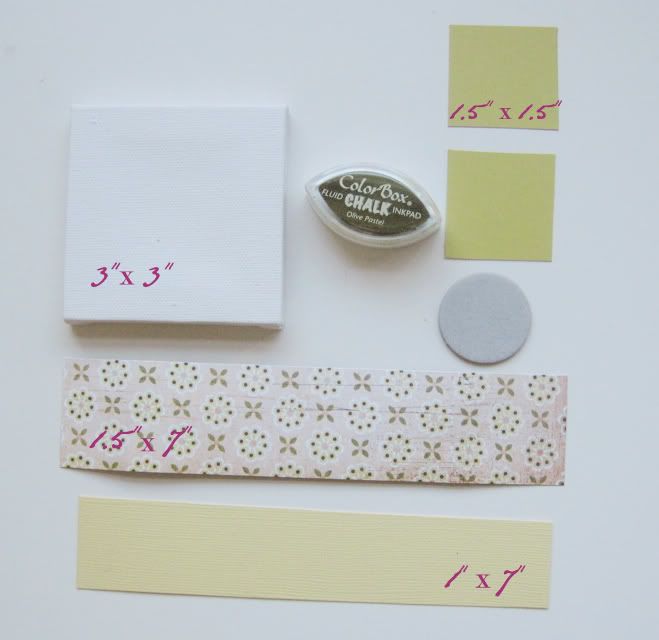
Step 1: cut your papers into a good size to wrap your canvas. I didn't want the whole surface covered, so I left a half inch on either side of the printed paper.
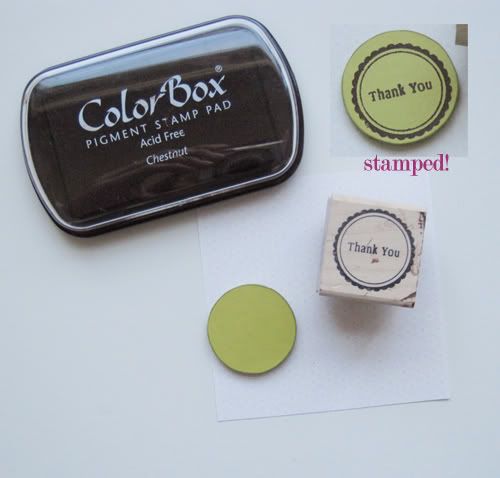
Step 2: If you decide to incorporate a small chipboard piece for either a stamp, the date of the wedding, or the table #, following instructions 2-7 here from a recent busy bee pendant class.
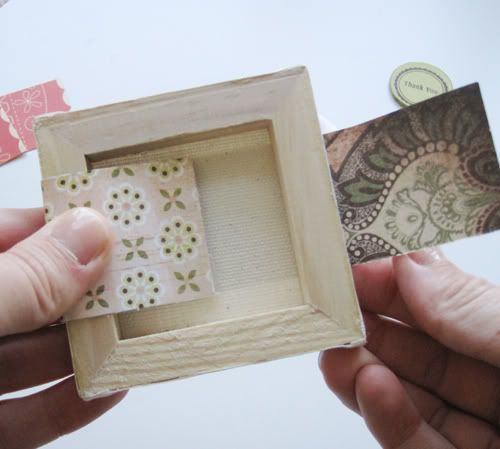
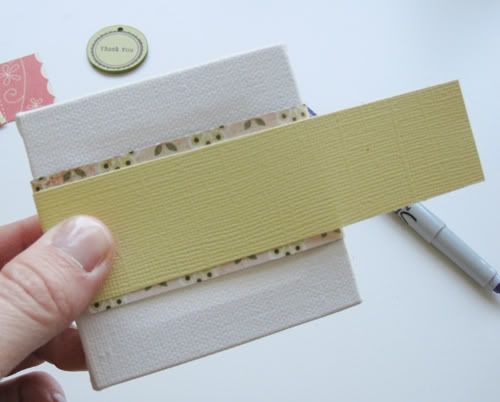
Step 4: before handwriting your guest's name, fold your top piece of paper around your canvas creasing it on the edges. Use these creased marks as a guide for your handwriting.
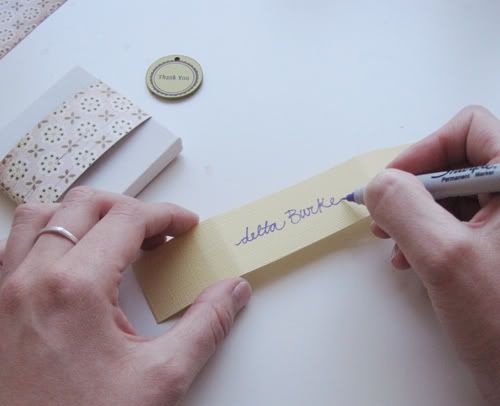
Step 5: use a pen in a matching color to write your guest's name. I love a fine point sharpie for cursive!
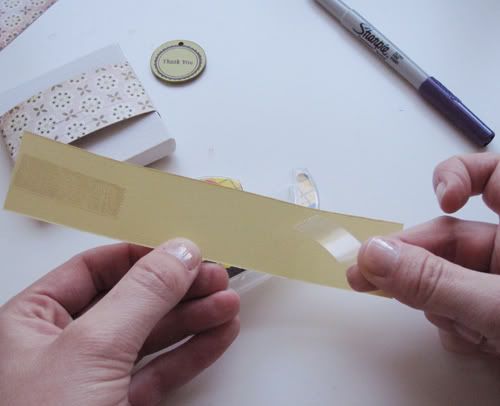
Step 6: once written, attach a couple pieces of double sided tape to the back.
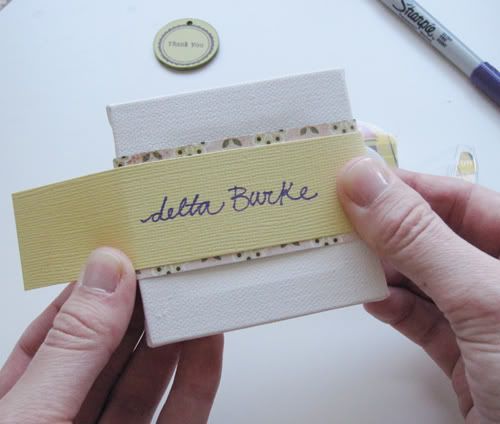
Step 7: using the creased lines made before, center your paper over your printed paper and wrap around to the back.
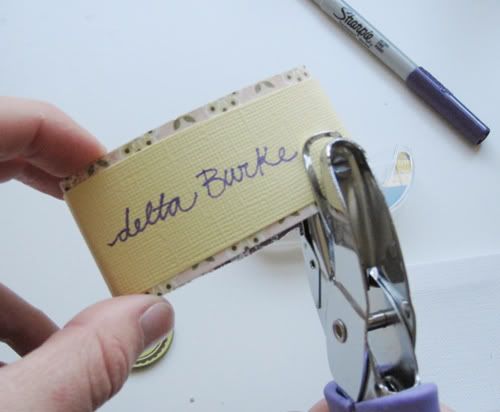
Step 8 (optional): if you use a small chipboard piece follow this and the following step. once both pieces are attached slide off your sleeve and punch a small hole for ribbon.
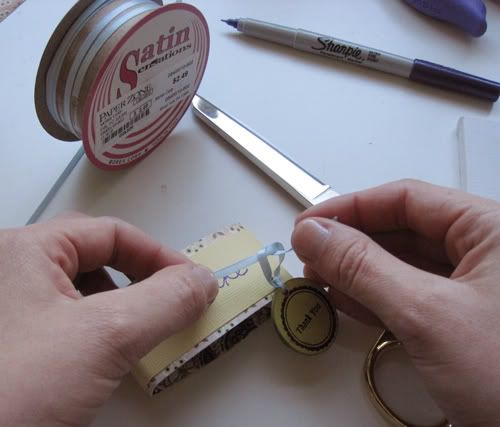
Step 9 (optional): using a thin piece of matching ribbon tie your chipboard piece on and finish with a small knot. This piece can be attached anywhere you prefer on your place card.
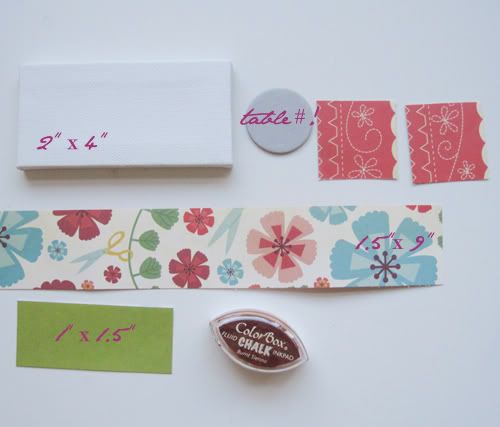
step 10: the second mini canvas I used is a different size and I played around with brighter colors. Also, notice the chipboard piece on this mini canvas below shows your guest what table they are seated at.
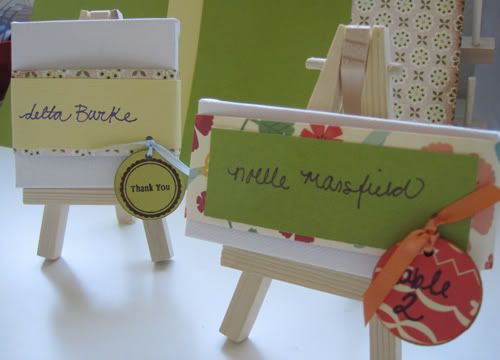
At the end of the evening your guest's get to take their place card home, slide off the name sleeve, and create a mini piece of art!





No comments:
Post a Comment