


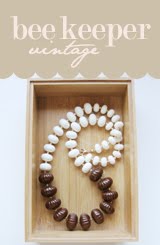
Welcome to my first busy bee class! I didn't realize it would be so many steps, but I promise it is well worth it.
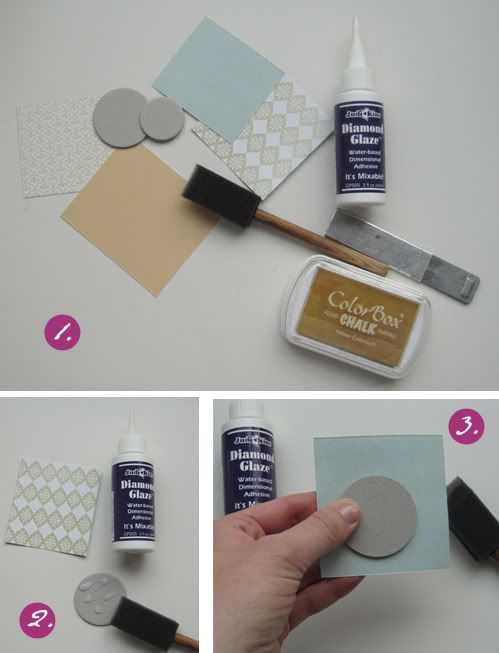
Step 1: Gather your materials. You will need a piece of printed paper for each side of your jewelry piece, chipboard or binding board cut to a shape you like, diamond glaze, sponge brush, stamp pad, hole punch, small pliers, jump ring, and ribbon. (phew!)
Step 2: Put a few dots of diamond glaze on your piece of chipboard
Step 3: Glue your first piece of paper. It should dry within seconds
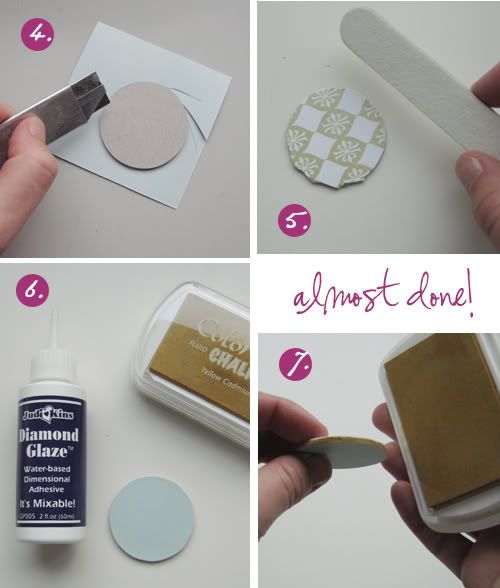
Step 4: Once dry, cut the paper away from the chipboard.
Step 5: File the edges to make them smooth
Step 6: Follow steps 2-5 for the back of your chipboard
Step 7: Using your stamp pad, ink the edges to cover the color of the chipboard and to also fill in the white from cutting your paper
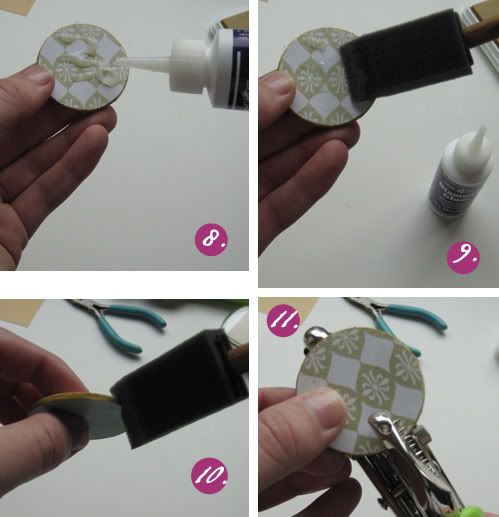
Step 8: Using your diamond glaze and sponge brush, put a few more drops on the surface of one side
Step 9: Paint the glue on to create a glazed surface. Once dry (30-6o seconds) do the same to the other side of the board
Step 10: With the remaining glue on your sponge brush glaze the edges as well
Step 11: Once the edges are dry use your hole punch to place a hole for your jump ring in the middle of the chipboard
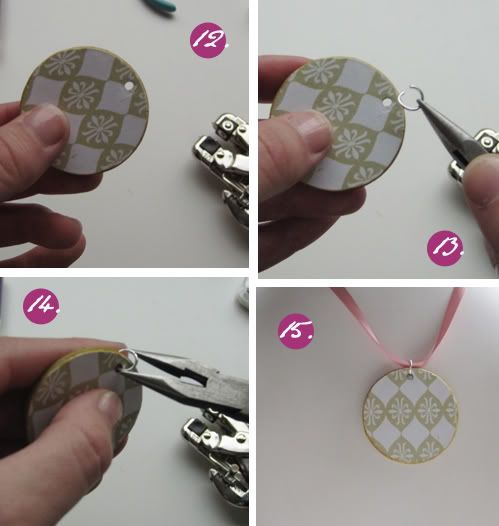
Step 12: Use a small hole punch to not take away from the finished piece
Step 13: Using your pliers attach your jump ring through the punched hole
Step 14: Scrunch your jump ring together to leave it nice and tight
Step 15: Thread a piece of ribbon through and tie in back for a quick necklace!
To make earrings follow the same steps for a pair and add earring findings instead of ribbon. You may also use a photograph, stamped images, words, or fabric. Have fun!


No comments:
Post a Comment