Showing posts with label a lucky girl in love. Show all posts

Lucky Girl in Love: big day cardigan


There's something awfully whimsical about wearing a cardigan with your wedding dress on your big day, especially on wintery wedding days. And chances are you will actually wear this sentimental piece again. The beauty of most wedding dresses? They are white! Which means almost any color will contrast beautifully. I think when the day comes I will have a dainty sequined one draped over my dress, probably in pink. Just a dream!

Lucky Girl in Love: hang it up


Holding a ceremony anywhere but outdoors has never been in question. The best part of an outdoor ceremony/reception? Lovely trees to hang things from! Whether it be candle holders and light fixtures, or paper projects such as pendant banners and pom poms. (I will do a DIY pom pom post and show you how easy they are to make!) There is such a whimsical note to hanging canning jars, and with a little malleable wire or copper the are an inexpensive solution to hanging decor. (perhaps another DIY?)

Lucky Girl in Love: chalkboards


One trend that has been popping up all over for weddings no matter the season are chalkboards and I love them! They have a rustic meets home feel for your special day. They could be used to direct guests (ie. dance floor, dessert bar, guest book, photo booth), they can be table numbers, menu + bar signs, or even centerpieces! I especially love No. 3, this little chalkboard and drawer combination would be great for guests to write little words of wisdom and drop them into the box for safe keeping. And chalkboards could easily be put on your DIY list, whether you refurbish a board or buy chalkboard paint this project will save you plenty!

Lucky Girl in Love: DIY Placecards

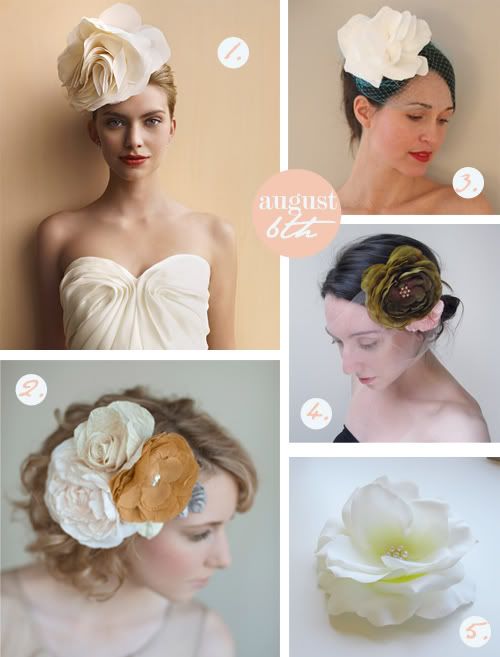
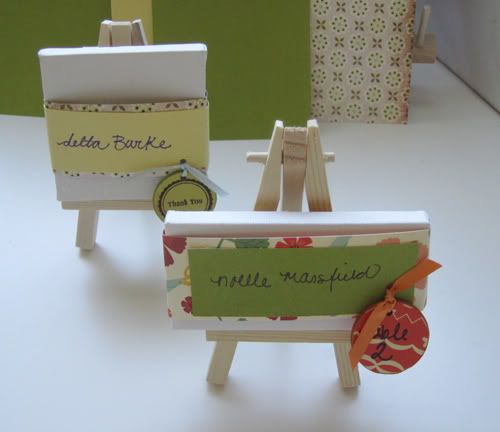
This is a DIY project I've had in my notebook for awhile now: mini canvas and easel place cards that double as the wedding favor gift! (It's a bit long so I will keep it up over the weekend.)
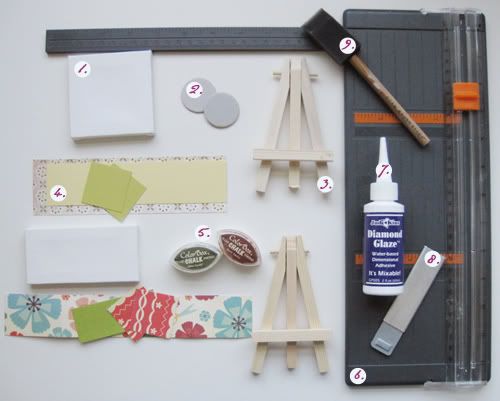
Materials
1. mini canvas, find them here 2. chipboard pieces, optional 3. mini easel, find them here 4. scrapbook paper prints and matching paper of your choice 5. dye ink for the chipboard 6. paper cutter 7. diamond glaze 8. xacto blade 9. small foam brush
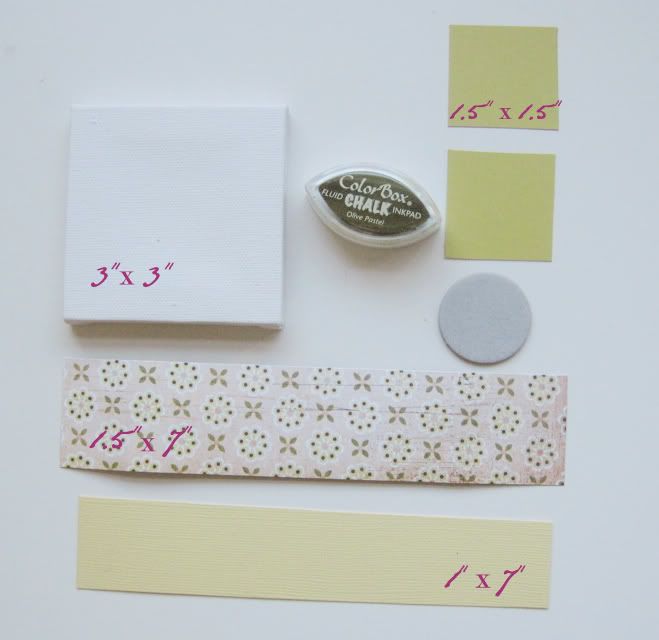
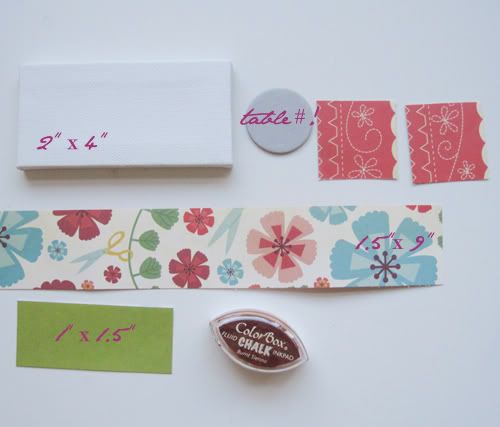
Step 1: cut your papers into a good size to wrap your canvas. I didn't want the whole surface covered, so I left a half inch on either side of the printed paper.

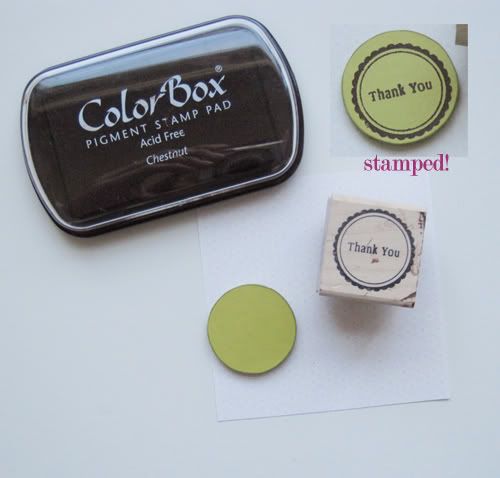
Step 2: If you decide to incorporate a small chipboard piece for either a stamp, the date of the wedding, or the table #, following instructions 2-7 here from a recent busy bee pendant class.

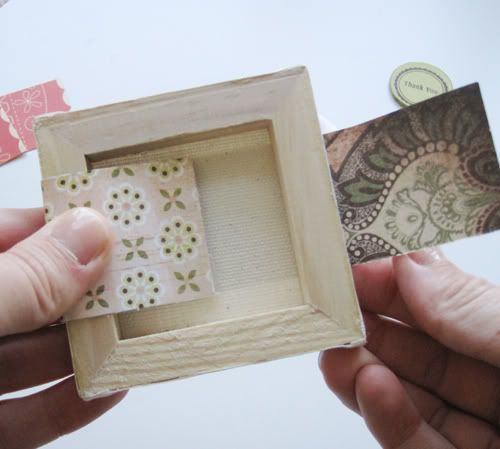
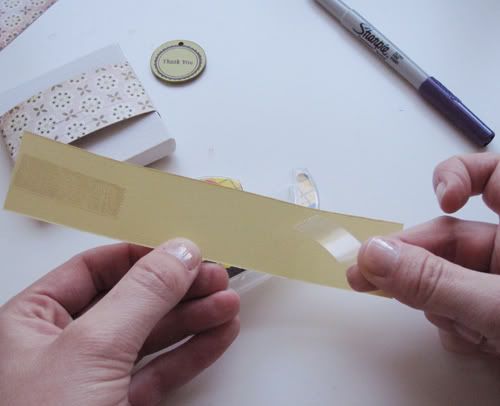
Step 3: wrap your printed paper and attach the overlapping piece with double sided tape

Step 4: before handwriting your guest's name, fold your top piece of paper around your canvas creasing it on the edges. Use these creased marks as a guide for your handwriting.

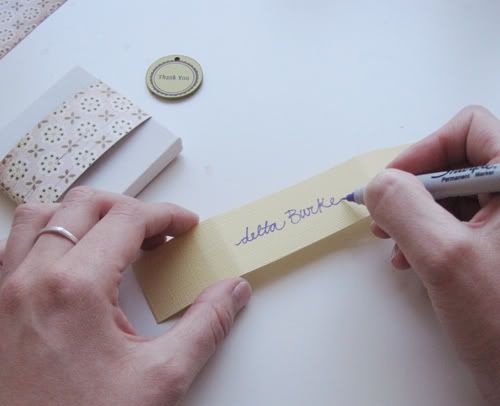
Step 5: use a pen in a matching color to write your guest's name. I love a fine point sharpie for cursive!

Step 6: once written, attach a couple pieces of double sided tape to the back.

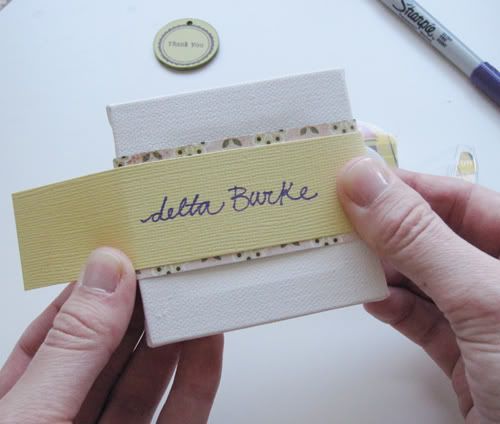
Step 7: using the creased lines made before, center your paper over your printed paper and wrap around to the back.

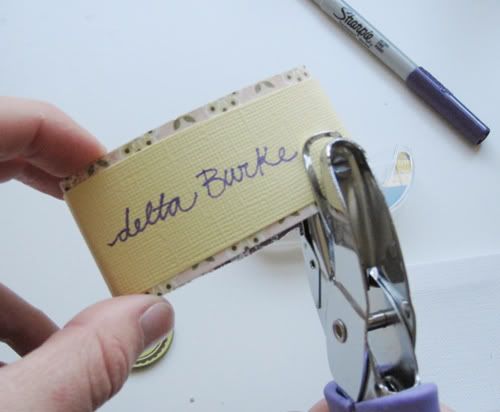
Step 8 (optional): if you use a small chipboard piece follow this and the following step. once both pieces are attached slide off your sleeve and punch a small hole for ribbon.

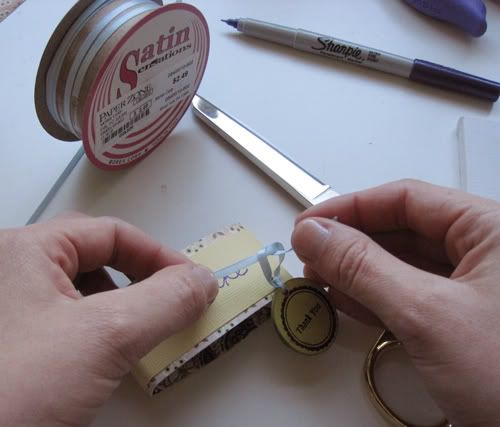
Step 9 (optional): using a thin piece of matching ribbon tie your chipboard piece on and finish with a small knot. This piece can be attached anywhere you prefer on your place card.

step 10: the second mini canvas I used is a different size and I played around with brighter colors. Also, notice the chipboard piece on this mini canvas below shows your guest what table they are seated at.

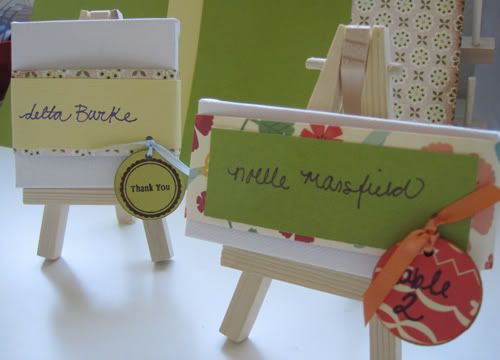
At the end of the evening your guest's get to take their place card home, slide off the name sleeve, and create a mini piece of art!

a lucky girl in love: mix + match


I love a wedding table filled with mixed and matched plates, wine glasses, and candle holders with the same colorful flair to pull them together! I imagine an outdoor wedding with rustic tables, vintage linens, and varying thrifted chairs too. Instead of bouquets for centerpieces I adore the use of vintage candle holders. Sometimes the less match-y the better!

a lucky girl in love: faux bouquet


Take a closer look, all of the bouquets above are faux! Silk blooms, buttons, clay, and nylon can create an original DIY bouquet for less money that won't wilt. Maybe your favorite blooms are not in season in time for your bouquet toss or maybe you want just one more project, either way these alternatives to the traditional bouquet are quite lovely. Each one is handmade, click on individual listings for Etsy sellers or step-by-step how-to so you may make your own!

a lucky girl in love

disclaimer: I am not engaged, but I do love everything about a wedding! There, I admitted it. I buy the newest Martha Stewart Weddings, The Knot, and sometimes Portland Bride + Groom the week it comes to the closest new stand. The detailed planning that goes into every aspect of sharing that day with your guests is lovely. From small hair accessories and programs, to the dessert bar and handwritten table numbers. I have worked in one DIY aspect of weddings for almost 3 years now and my brides are some of my most favorite customer. I will be sharing the many ideas in my head, the ideas I stumble on, and those I go searching for in my newest feature, "a lucky girl in love". The best part, all these lovely ideas you can do yourself!

My first collection: over the top!


No. 1 is from miss Martha Weddings and can be recreated with her "how to" guide! All the rest are lovable Etsy sellers, including one of my all time favorite finds: Twigs and Honey.