


"Always Do Your Best: Your best is going to change from moment to moment; it will be different when you are healthy as opposed to sick. Under any circumstance, simply do your best, and you will avoid self-judgment, self-abuse, and regret" -- The Four Agreements
I've never been able to rock the self-affirmations, repeating things out loud to yourself in the mirror. I always felt a little silly. Then, during a day of particular frustration, I remember going to the big bathroom mirror, picking up the hand soap and drawing a giant heart and the words "You are doing your best." I may not have said anything out loud, yet reading to myself had the effect of a spoken affirmation. (Have you ever written on a bathroom mirror with soap and then taken a shower? It's like magic the way your message becomes clear with the steam. Try it, it's delightful.) My self-love soap message lasted a good long while, yet has long since disappeared.
And now is a time when I could really use the affirmations. I recently made the move to being 100% self employed (hooray! I'm self employed here and here.) yet being the maker of your own destiny can be hard! There are many details and cracks constantly pulling towards each other, there is almost constant wondering if I've forgotten something or if I could be doing something better. To be reminded daily, "You are doing your best," that would be very helpful.
In lieu of soapy mirrors, I share with you a project to bring a little self-love back into my everyday.
I'm in a very long stint of trying to use what I already have (goal 060 – balance with possessions) so all the items I used to make my encouraging words poster were things I had on hand. Granted, a trip to the craft store can be a welcome burst of creative energy, and this project is a nice excuse to dig up some change to buy one or several sheets of pretty 12x12 scrapbooking paper.
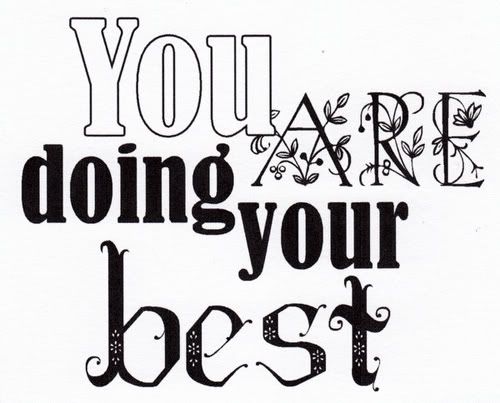
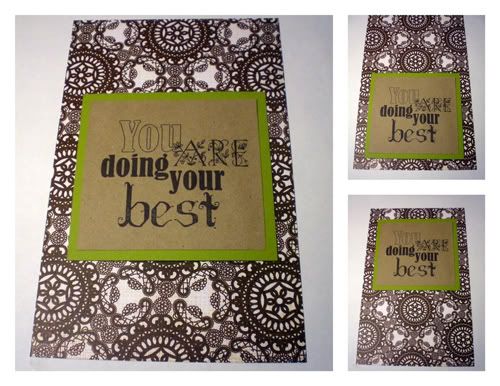
The affirmation “You are doing your best” served as inspiration for a little typography exercise. I picked a few fonts [http://www.dafont.com] and arranged the saying to fit easily on a half sheet of paper. A jpg of my design is available for free on BeeKeeper's flickr page here.
I let the saying and design guide my choices for possible background papers. I knew I wanted something that was punchy, but not too soft... assertive and bold, yet encouraging and pretty.
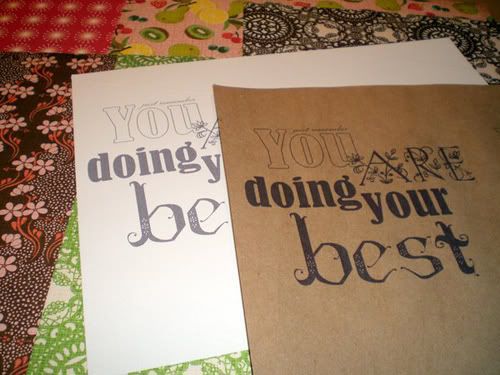
A couple of printouts on a variety of pretty papers. How to choose a background?!
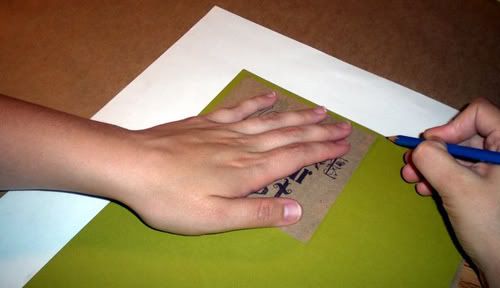
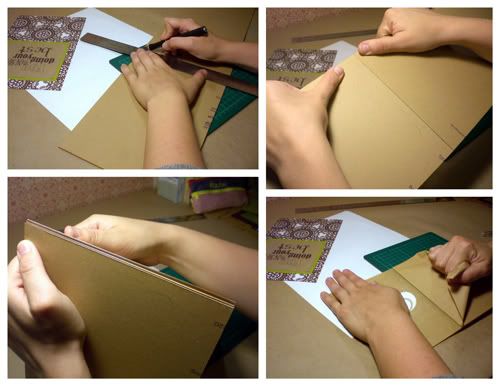
For a one off project, it can be quite nice to just play it by ear... that seems like a nice border I'll mark for cutting there.
Once I managed to actually choose a pretty background paper, I found a complementing plain paper for a middle layer. I was a bit lazy and didn't use exact measurements or rulers to cut the pieces. I just cut out the saying, laid it onto the citron cardstock, eyed a border about 1/4” all around and used a pencil to make tiny guide marks at the edges
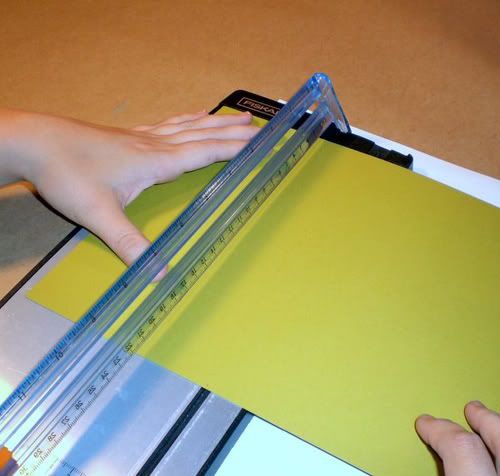
a personal paper trimmer is an indispensable and economical tool for home crafting. This triple track from fiskars is about $24 at craft stores.
Line up the pencil marks on your personal paper trimmer (or use an exacto, ruler and self healing cutting mat. Only have scissors? There is a hint at the very bottom of the post.) Try to cut on the inside of the marks, if you see any lingering lead erase using a non-marking white eraser.
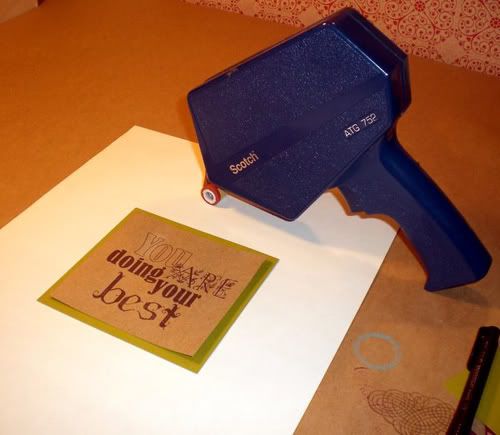
My thrift store “crafting score of the year” 2009. ATG guns use a trigger to dispense super strong ATG double sided tape. An investment for serious crafters. A little brother version by the brand Tombo is an adequate substitution and are economical at around $6.49, for almost 40 feet of adhesive
After cutting, and before I apply any adhesive, I set the top layer onto the middle layer to check and recheck the border so it will be easy to make all the sides even once everything is sticky.
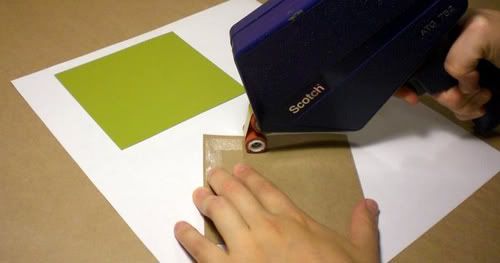
If tape goes over the edge, just roll it back onto the paper with your finger. Double sided adhesive rollers are magical, so sticky with little mess.
Apply your adhesive. Don't have fancy guns and whistles?
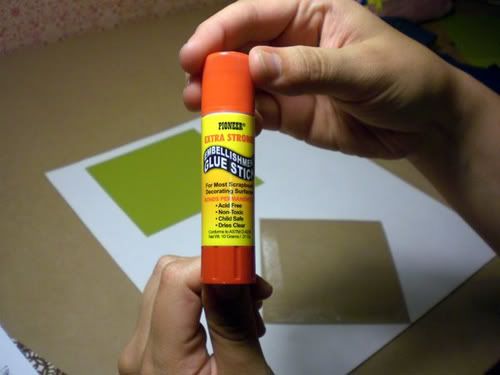
This isn't just any glue stick. It is super strong, meant to last. Apply generously just to make sure it won't fall off later like many economy glue sticks
A strong gluestick will work just as well. Notice however, that this glue stick makes sure to mention it is acid-free, non-toxic and dries clear. A good quality glue stick is also a crafting-tool-box-must.
I always use scrap paper on my work surface. A nice big sheet of white paper makes it easy to see your project and will catch any errant glue.
(An aside, working at a craft store for two years, I learned never to assume someone's skill level of craftiness. If some of these instructions seem a little elementary, it's because one of my missions is to help those less craft-able than myself, and there is no better place to start than the basics.)
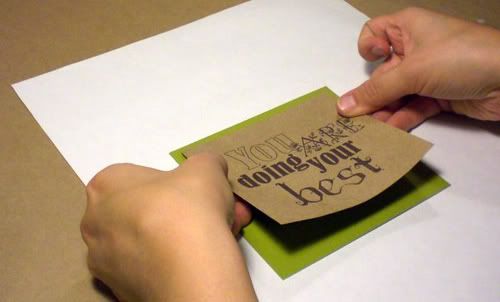
Here's the way I get perfect borders: the back of the piece to set down is very sticky, so I pick it up toward the top on both edges with just the tips of my fingers, hopefully in a less sticky spot. Then like a plane coming in to land I approach the top border of the background. Without actually setting any sticky bits down I can eyeball that the two sides show the same border, and then I eye that the top will match that border too. Once things seems pretty even set the top down. ATG tape is unforgiving, but glue sticks might give you a little wiggle room.
I found these pieces of acrylic on the side of the road. Not so lucky to have random acrylic in your stash? It can be found as most hardware stores in convenient sizes
I have had this acrylic laying around my studio for two moves. I'd never cut acrylic before, but Ian reassured me all you have to do is score and snap. And can you believe it!? It is that easy. Three passes with my exacto, a firm grip on either side of the score with down pressure (a turned head with eyes shut tight) and voila! Make sure to leave the protective paper on until everything is measured and cut.
I let the width of my stashed acrylic sheet inform my measurements for the pretty background paper.
Once everything is cut, play around with the placement of the saying, it might give a very different feeling at the top or bottom of the page.
Up until this point I wasn't really sure how I would mount the paper to the acrylic sheet. Then I remembered one of my precious souvenirs from a trip to Prague. A small photo behind thin glass that is neatly taped around the edges.
A perfect reason to use a little bit of my decorative Japanese masking tape!
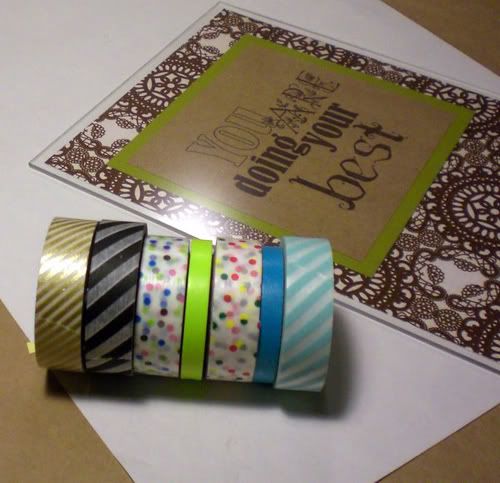
Washi tape is a current crafting wildfire trend, and it's so fun and beautiful I happily jumped on board.
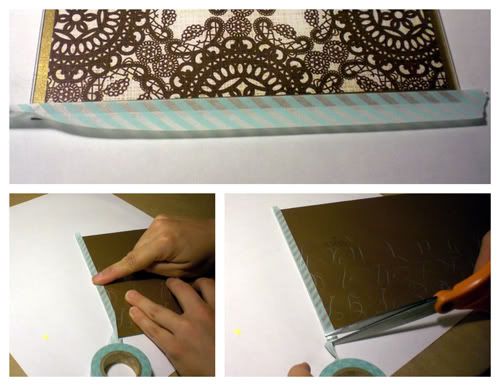
Probably because I was tired, I had accidentally cut my decorative paper smaller than the acrylic by about an 1/8” all around. Channeling the every positive Bob Ross, I chose to see it as a happy accident and a reason to use metallic gold paper for the backing.
Using the bottom edge of the decorative paper as a guide I placed the line of blue striped tape along the bottom of the acrylic sheeting. Make sure there is at least half to go around to the other side. Flip the piece over, realign all the sheets and press down the remaining tape. Cut right at the edge and repeat for all four sides.
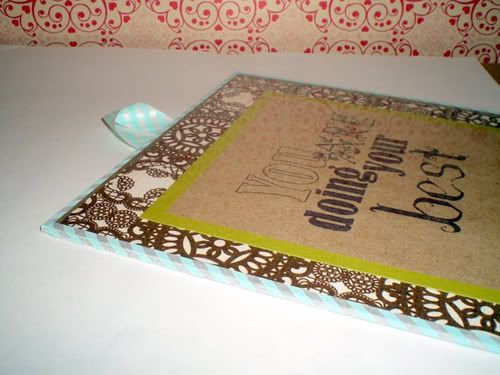
oh yes, I am please with the colors!
To make the hanging loop, adhere two strips of the pretty masking tape together, sticky sides touching. Then tape onto the back of the poster.

The only thing left to do is decide where to hang it. It has to be a place I will see it when I need it most.
I promised a hint for those poor crafting souls who only have scissors. Draw a straight line along the edge you need to cut and then cut very carefully next to that line. Not much of a hint, huh. A better hint is to wait for a 40% off coupon from your local craft store and invest some dinero in a personal paper trimmer!
Thanks for having me over Leda and Bee Keeper Studio readers. If you'd like to learn more about me and my 100 goals so can find me at Rachels100goals.blogspot.com.
Cheers,


No comments:
Post a Comment